Add Server: Add a server or import a subscription
The goal at this stage is to see a selectable server entry in Home; you do not need to turn on the connection switch yet. First identify what information you have: a subscription link that updates a server list, or the protocol, address, port, and other details for a single server. These use different entry methods. Do not paste a full subscription link into Host or use a single server address as a Subscribe link.
Have a subscription link? Set Type to Subscribe
Go to Home, tap + in the top-right corner to open Add Server, tap Type, and choose Subscribe. On the add page, paste the complete link from your provider into the relevant field and save. Do not add spaces or line breaks before or after the link. If you copied it from a messaging app, check that you copied the full link rather than just its displayed text, including the final parameters.
After saving, return to Home and wait for the subscription content to load. When it loads successfully, the list will show the relevant group or server entries. First check whether the list is empty, then confirm that an entry can be selected. If you see a subscription record but no servers, do not repeatedly create the same subscription. Check that your network is working, the link is still valid, and the provider's content format matches the import method.
Have details for a single server? Enter the fields for its protocol
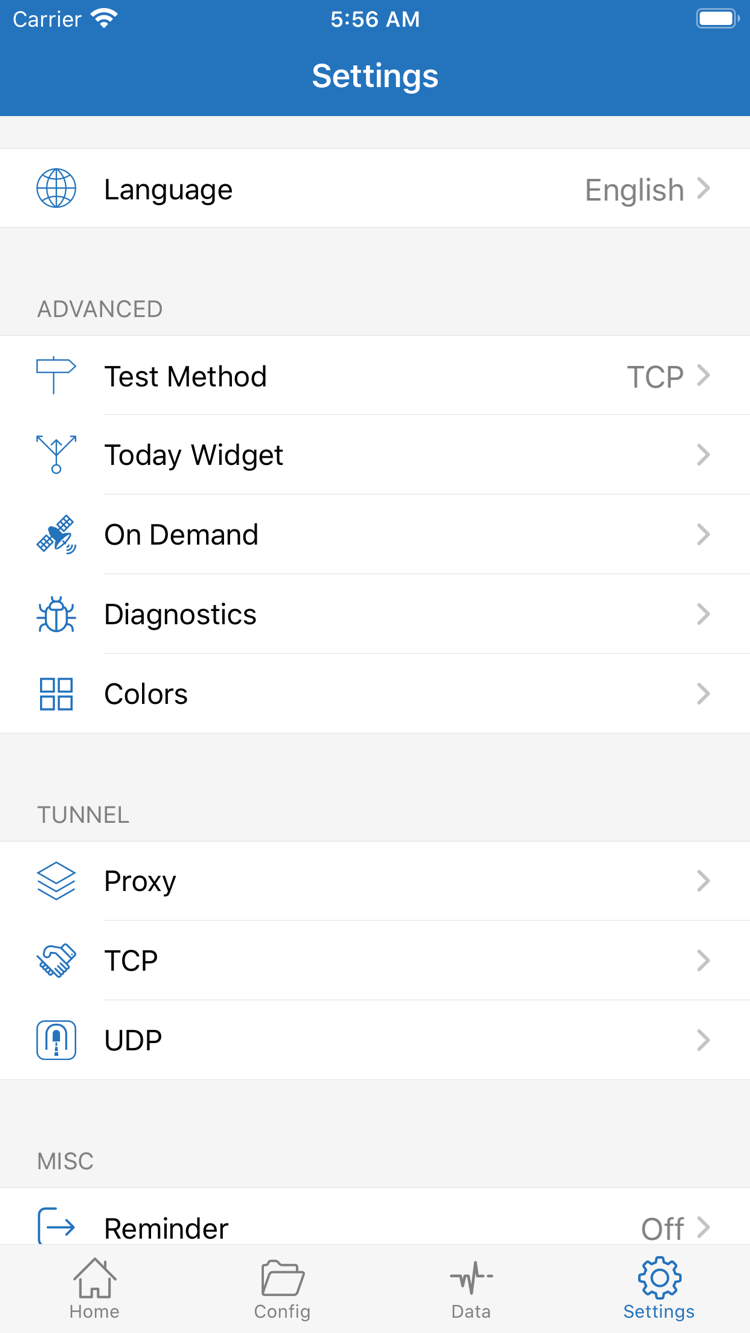
From Home, tap + to open Add Server, then select the protocol specified in your details under Type. The screenshot shows an add page with Host, Port, Password, and Method; fields for other Types may differ, so refer to the interface after making your selection. Enter the server address in Host and the port in Port. Fill in Password, Method, and other fields exactly as specified in your existing details; do not substitute values just because their names look similar.
If your details also include UUID, TLS, a transport method, or a path, check each one. The server name is only for identification and cannot replace connection details. Use Scan QR Code to read a matching QR code you already have. Import from Cloud JSON is a separate import method; do not use it for arbitrary text or an ordinary subscription link. Choose the method that matches your information; there is no need to try every option.
Before continuing: Return to Home and confirm that the target entry appears under SERVER and that you can identify the one you plan to use. If the list is empty, stop here and troubleshoot the import. Changing Global Routing will not resolve information that has not been loaded.
Global Routing: Choose how requests are handled
Once you have a server entry, decide how requests should be handled. Tap Global Routing in Home and learn the three options: Config, Proxy, and Direct. This setting determines how requests are handled; it does not import servers again or automatically fix an incorrect address, password, or expired subscription.
- Config: Handle requests according to the rules in the current configuration file. Use this when you have rules configured and want different requests to follow different paths.
- Proxy: Send requests normally handled by this mode through the proxy path. This can help check whether the selected server is available, but it does not mean every system request will necessarily use the same path.
- Direct: Use a direct connection. If you expect a request to go through a proxy server, check that this option has not been selected by mistake.
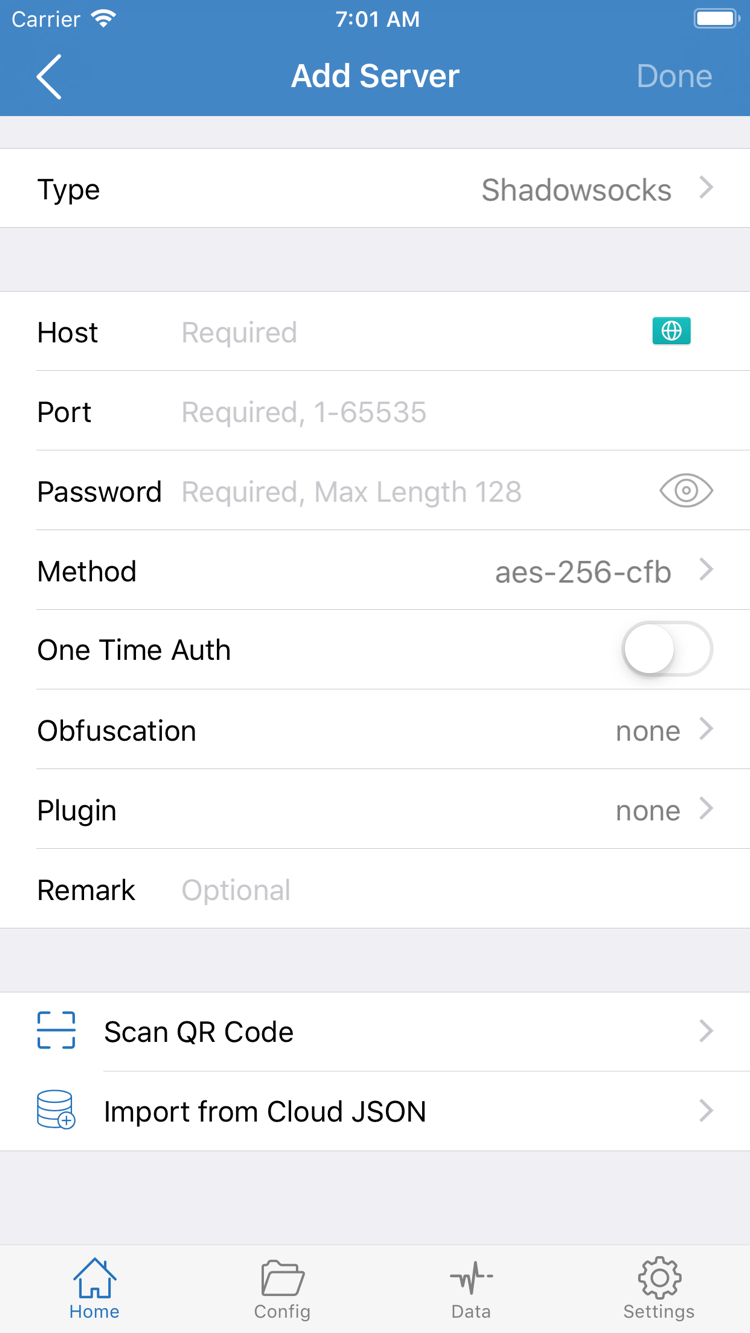
Before using Config, open Config at the bottom of the screen and confirm that the expected configuration file is selected. A subscription typically provides or updates a server list, while a configuration file manages rules and related settings. Importing Subscribe does not mean that the expected rules have also been imported. General, Rule, Hosts, URL Rewrite, and HTTPS Decryption in the screenshot are sections for editing configuration; you do not need to change them for this quick start.
To understand the rules, remember that they are matched from top to bottom and the matched policy is applied. For example, DOMAIN-SUFFIX matches domain suffixes, GEOIP matches relevant IP geolocation data, and FINAL applies when no earlier rule matches. PROXY, DIRECT, and REJECT are different handling policies. This explains why different requests can take different paths even when the same server is selected.
Keep your existing configuration for now. Do not add Add Rule just to test the connection, and do not enable HTTPS Decryption without understanding its purpose. For more about modes and matching, see the proxy mode guide. App Store access, genuine app verification, and account questions are covered in the genuine app guide. After choosing a mode, return to Home and get ready to connect.
Home: Select an entry and connect
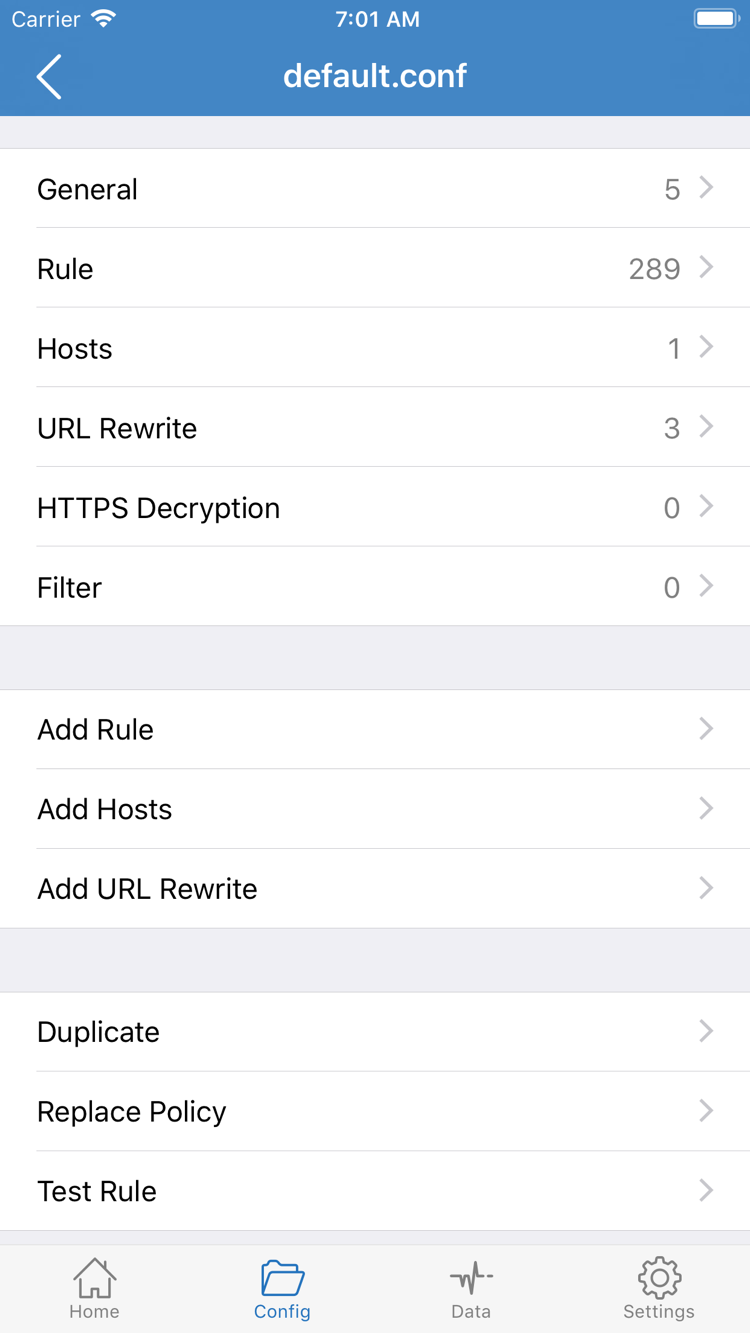
Return to Home and select the server you want to use in the SERVER group. A subscription group name and its server entries may both appear in the list. Make sure you have selected the target entry, not just expanded a group. If you have just updated a subscription, entries may have changed, so check your selection again before connecting.
After checking Global Routing, turn on the switch at the top of Home. On the first connection, the system may ask to add a VPN configuration. Confirm that the prompt comes from Shadowrocket during your current action, then approve it as required by the system. You may need your device passcode or authentication. Do not toggle the switch repeatedly before authorization is complete. When authorization finishes, return to the app and check whether the previous Not Connected status at the top has changed and the switch remains on.
If the switch turns off again immediately, first check whether system authorization is complete, then look for a specific error message. The issue may not be with the server: the app may not have created a local connection configuration, the system action may have been canceled, or connection settings on the device may conflict. Record the exact prompt and avoid changing multiple fields at once.
A connected status at the top means that the connection configuration is enabled, but it does not by itself confirm that the server or every target request is working. Incorrect server details, an unreachable remote server, or mismatched rules all require further checks. Next, verify both the entry's connectivity and the actual access result.
When getting started, leave the existing On Demand settings unchanged and do not add automatic connection conditions at the same time. That makes it easier to observe status changes when you toggle the connection manually. To finish this check, turn it off manually in Home. If it connects again later, review the On Demand conditions in Settings.
Connectivity Test: Check the connection and actual requests
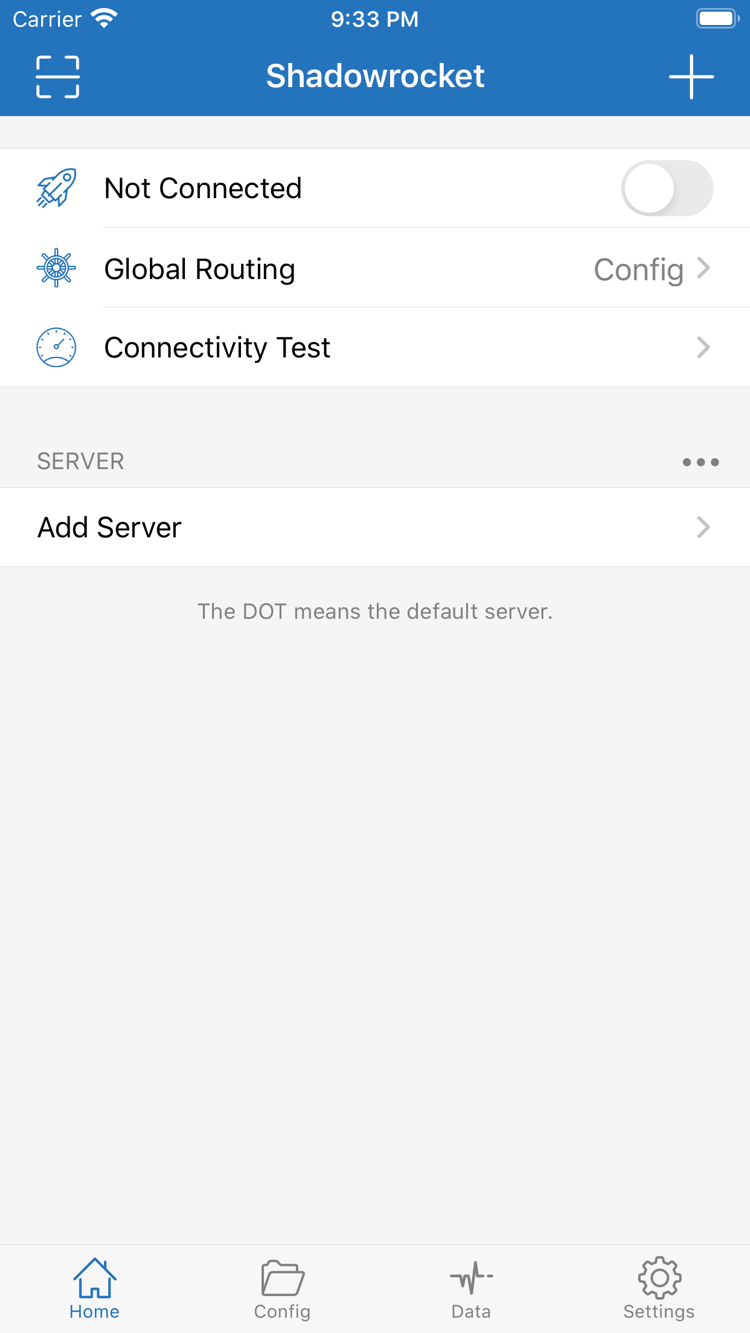
Verify in two stages: first check whether the selected entry passes the current test, then check whether the app or page you actually need works. Run Connectivity Test in Home, wait for it to finish, and note whether it returns a result or an error. The test method affects what the result means, so do not judge the overall status by one number or assume that one failed test means all servers are unavailable.
Then open the app or page you need and perform a simple, repeatable action, such as reloading the same page. Keep the same server and network for the test. Switching from Wi-Fi to cellular at the same time makes it difficult to tell which change affected the result. An open page may show cached content, so request it again if needed instead of only checking what has already loaded.
If Connectivity Test returns a result but an app still cannot connect, return to Global Routing and check the mode. Config routes requests according to rules; if a target matches DIRECT, other targets going through a proxy does not mean that it does too. You can temporarily use Proxy to compare the same target, then restore Config and check the relevant rule. The comparison is for identifying a difference in request paths, not a recommendation to keep one mode enabled.
If the app works but a particular test fails, check Test Method and the test conditions in Settings; you do not need to delete the server immediately. Conversely, if a test passes but a feature does not work, limit the issue to that target, network, or request type. Do not conclude that “everything works” from one test. A verifiable test record should include the selected entry, Global Routing, the network, and the specific action that succeeded or failed. It does not need to include a subscription link or password.
Settings: Troubleshoot by where the issue occurs
Follow this order: network connection → information accuracy → current mode → specific request. Change one item at a time, then repeat the same test in the verification step. If the result does not improve, restore the original value before checking the next item. This preserves working settings and makes it easier to identify where the issue occurs.
No server entries after import
First, with the connection off, confirm that your network works. Then check that the link is complete, Type is set to Subscribe, and the link has not expired. Ask your provider to confirm subscription status and access restrictions. Do not try to “fix” a subscription by changing Host or replacing link parameters at random, and do not keep adding the same record. Keep one subscription entry to check before trying an update.
An entry is present, but connection or testing fails
For a server you added manually, check Type, Host, Port, and authentication fields one by one. If TLS or specific transport parameters are required, compare those with your existing details as well. For an imported subscription entry, try updating it and selecting it again. Confirm that the system time is accurate and compare results on Wi-Fi and cellular. If only one entry fails, compare it with another entry you already have, but do not combine parameters just because their names look similar.
Connected, but some apps still have issues
First check Global Routing and Config, then confirm whether the failing target is expected to match PROXY, DIRECT, or REJECT. If only a particular request type has an issue, record what happens before checking the relevant settings. Do not change multiple items such as DNS, TCP, and UDP at the same time. Settings being available does not mean they need to be changed for first use; keeping a known configuration usually makes differences easier to identify.
Automatic reconnection or unclear test results
Open Settings and check On Demand for automatic connection conditions that match your current network. If the connection comes back after you manually turn it off, check this setting first rather than repeatedly deleting servers. If test results do not match actual access, review Test Method to understand what the test checks, then run it again on the same network.
If you still cannot locate the issue, open Diagnostics to review available diagnostic information. Record the exact error, the steps that led to it, and how to reproduce it. Before sharing, remove the full subscription link, authentication details, QR codes, and other private data. Diagnostics can help narrow down an issue, but cannot replace confirmation of server status from your provider.
You should be able to identify a specific stage: information not loaded, system authorization incomplete, server connection failed, or request path mismatch. For import issues, return to Step 01; for rules, return to Step 02. Do not change every option from the beginning without keeping a record.